

Until now we have used Aperture priority. The steps to consider when taking a photo using Manual exposure are as follows:
- Compostition
- Aperture, depending on:
- Depth of field
- Movement
- Set shutter speed
- Change ISO is faster shutter speed is required.
Shutter speed
This is always half of or double the exposure time between 1 jump (3 clicks with the wheel – 1 click is 1/3 of an fstop)
2″ – 1″ – 1/2 – 1/4 – 1/8 – 1/15 – 1/30 – 1/60 – 1/125 – 1/500
Aperture
Aperture changes in the following increments:
1 – 1.4 – 2.8 – 4 – 5.6 – 8 – 11 – 16 – 32 – 45
Light metering
Align the light metering to 0. The aim is to adjust the shutter speed to get the exposure on 0. If this means that the shutter speed is too slow, increase the ISO
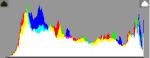
Histogram
The histogram is a statistical representation of information. In photography, it counts pixels of specific brightness and portrays them on a chart.
The left hand side of a histogram shows blacks
The right hand side of a histogram shows whites
You don’t really want any lines at the left or right of the histogram as this would suggest that the photo is under or over exposed.
Note that it’s better to underexpose than overexpose as:
a. the colour is better
b. it’s easier to correct an under exposed picture than an over exposed one
Task
Take under and over exposed photographs to see the difference:
We went outside to practice this, taking care that we were not blocking the exit outside a busy college.
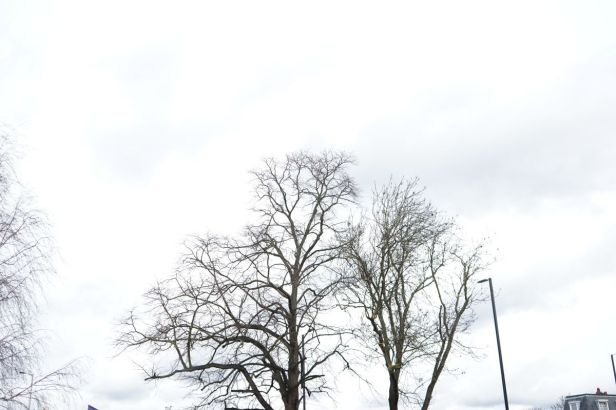
Example 1


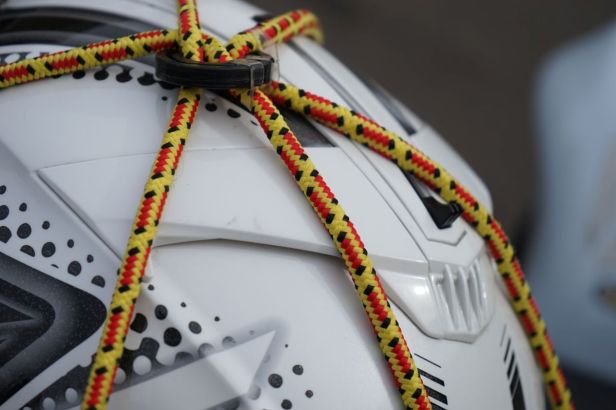
Example 2


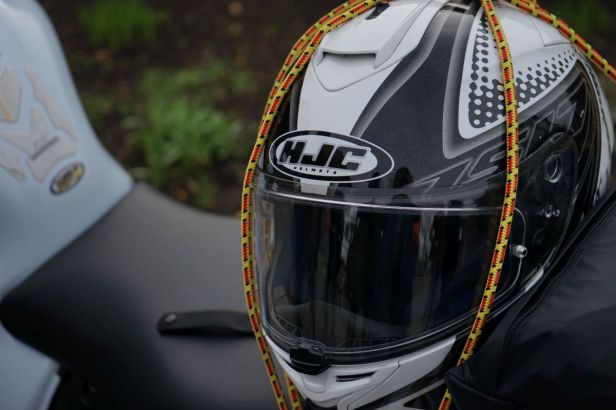
Example 3


Example 4


Example 5


Criteria covered in this blog:
Unit 01: 2.5, 2.6, 2.7, 2.8, 2.10
